
БЛОГ
DELCO Valve предлагает различные оптимальные решения для промышленной арматуры, особенно для регулирующих клапанов.
- Главная
- "
- Без рубрики
- "
- Установка пневматического шарового клапана: пошаговое руководство для начинающих
TAGS
Свяжитесь с нами
Установка пневматического шарового клапана: пошаговое руководство для начинающих
- Клапан DELCO
Pneumatic ball valves are widely used in industrial fluid systems for their automated control, fast response and reliability. Correct installation is the key to ensure the performance and longevity of pneumatic ball valves. In this article, DELCO valve will share the detailed steps and practical tips of pneumatic ball valve installation to help you successfully complete the installation.
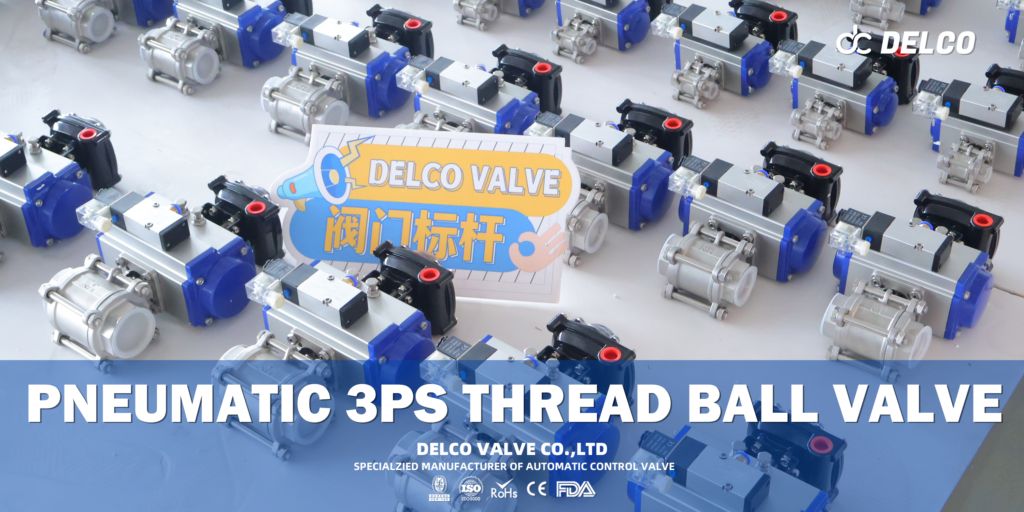
What is a pneumatic ball valve?
Pneumatic ball valves consist of a valve body and a pneumatic actuator and are suitable for use in scenarios where remote control or automated operation is required, such as the water treatment, chemical, oil and gas industries.
Preparation before installation
- Check the valve and fittings: Ensure that the pneumatic ball valve, actuator, seals and connections are intact; Verify that the valve specifications (size, pressure rating, material) meet the system requirements.
- Prepare tools: Wrench, screwdriver, sealant, pipe cutter, level, etc.
- Clean piping: Remove impurities, rust and residues in the pipeline to avoid damaging the internal structure of the valve.
- Confirm the direction of media flow: Check the arrow mark on the valve body to ensure that the installation direction is consistent with the medium flow direction.
Pneumatic ball valve installation steps
Step 1: Installation of the valve body
- Cut off the piping: Use the pipe cutter to cut off the pipeline at the installation location, make sure the cut is flat.
- Connect the valve body: Depending on the type of piping (threaded, flanged or welded), connect the valve body to the piping; Use a sealant or gasket to ensure that the connection is leak-free.
- Secure the valve body: Tighten the connections with a wrench, but avoid excessive force that could damage the valve body.
Step 2: Install the pneumatic actuator
- Align the actuator: Align the pneumatic actuator with the stem on the valve body to ensure correct mounting position.
- Secure the actuator: Secure the actuator to the valve body using the bolts or clamps provided.
- Connect the air source: Connect the pneumatic actuator to the air source piping to ensure that the air source pressure meets the actuator requirements.
Step 3: Test the valve
- Manual test: Test the valve to see if it opens and closes smoothly by using the manual operating device on the actuator (if available).
- Pneumatic test: Turn on the gas source and check whether the actuator can drive the valve switch normally.
- Leak Check: After pressurizing the system, check the valve and connections for leaks.
Installation Precautions
- Avoid excessive force: Avoid excessive force when tightening connections to avoid damage to the valve body or seals.
- Ensure that the air supply is clean: The air supply line should be clean and dry to avoid impurities entering the actuator and causing malfunction.
- Follow manufacturer’s instructions: Strictly follow the installation manuals for the valve and actuator to avoid incorrect installation.
- Periodic Maintenance: After installation, periodically check the operating status of the valve and actuator to ensure long-term stable operation.
Часто задаваемые вопросы
- Can pneumatic ball valves be mounted in any position?
Yes, but it is recommended that the actuator be mounted facing upwards to avoid accumulation of dust and impurities.
- What sealing materials are required for installation?
Depending on the medium and type of piping, polytetrafluoroethylene (PTFE) sealing tape, sealant or gaskets may be used.
- What should I do if the valve cannot switch normally after installation?
Check whether the air source pressure is normal, whether the actuator is installed correctly, or whether the valve body is blocked by impurities.